This article provides a run through of creating a new Autonomous JSON Database (AJD) service on the Oracle Cloud.
Create Autonomous JSON Database (AJD) Service
Log into Oracle Cloud.
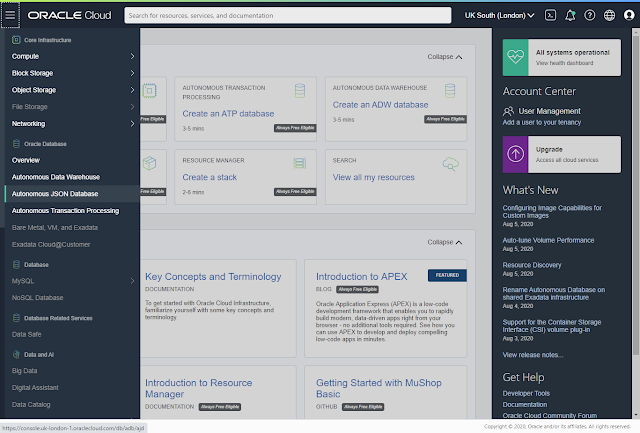
Open the menu by clicking the hamburger on the top-left of the screen and click on the "Autonomous JSON Database" option.
Select the compartment you want to build the service in, then click the "Create Autonomous Database" button.
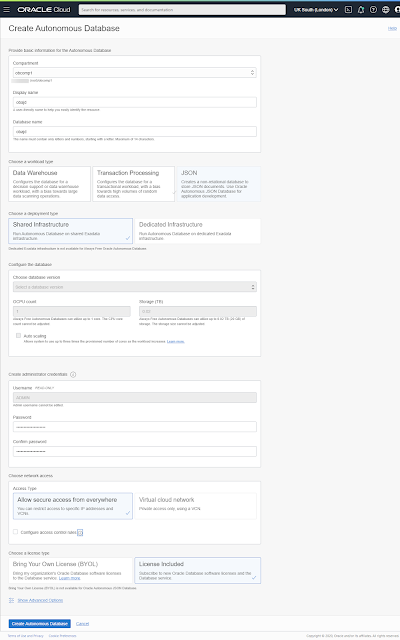
Enter the details of the service you want to create. The default sizes will vary depending on if you are running in free tier or not. Remember to select the appropriate licensing model. Click the "Create Autonomous Database" button.
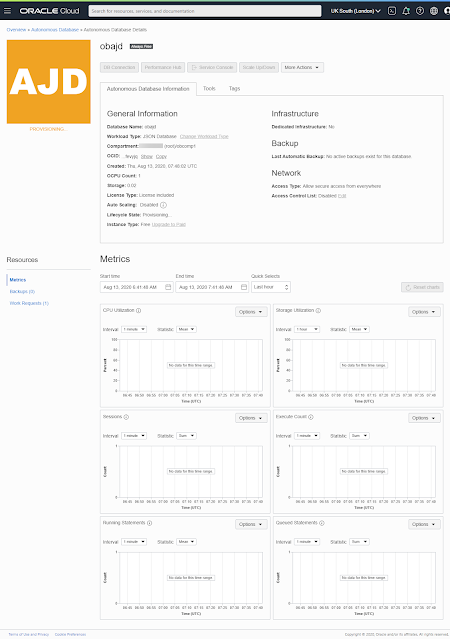
Wait while the service is provisioned. You will see the state is marked as "Provisioning".
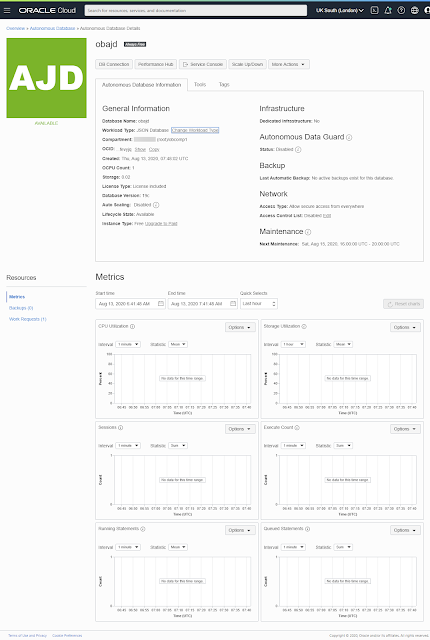
Once complete the state changes to "Available". The details screen allows you to perform some basic operations with the service, including scale up/down, manual backups and restores from backups. Click on the "Service Console" button.
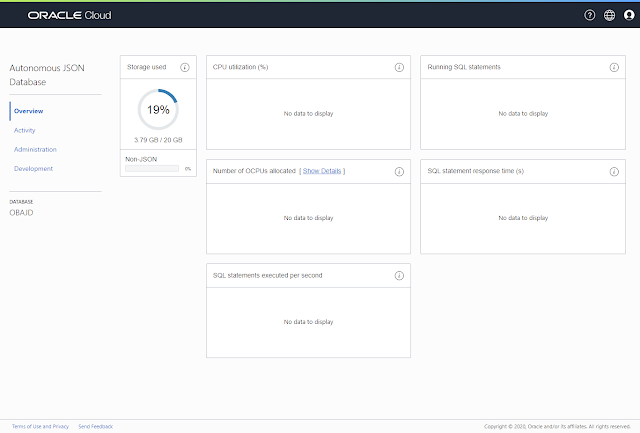
You are presented with the dashboard, which will look quite empty as the service has just been provisioned. Click the "Activity" link of the left of the screen.
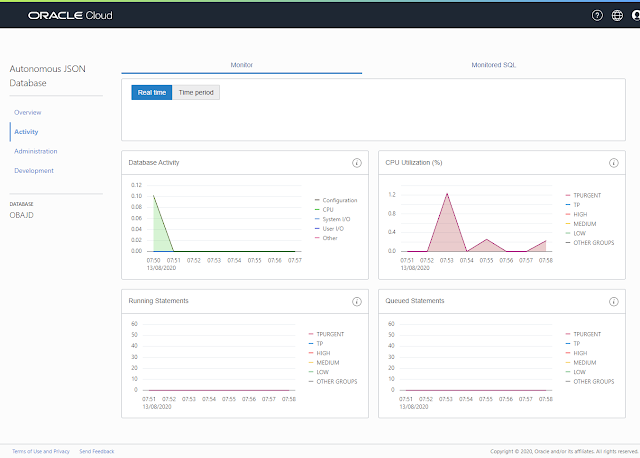
You are presented with the activity screen, which will look relatively quiet as the service has just been provisioned. Click the "Administration" link on the left of the screen.
The administration screen allows you to perform some basic administration of the service, including downloading the client credentials wallet. Click the "Development" link of the left of the screen.
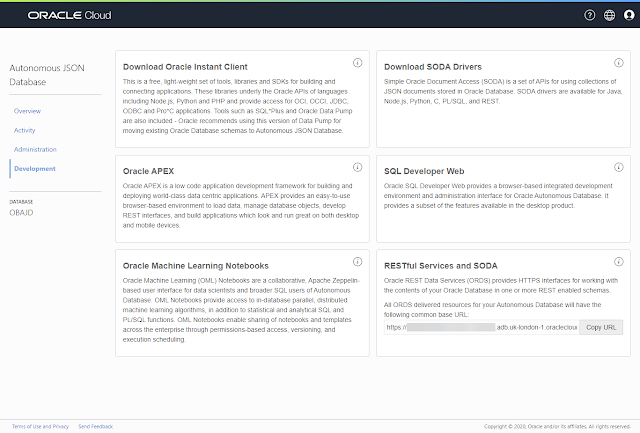
The development screen gives you access to a number of development features, including APEX and the SQL Developer Web tool. Click the "SQL Development Web" link.
Sign in with the credentials you supplied during the build.
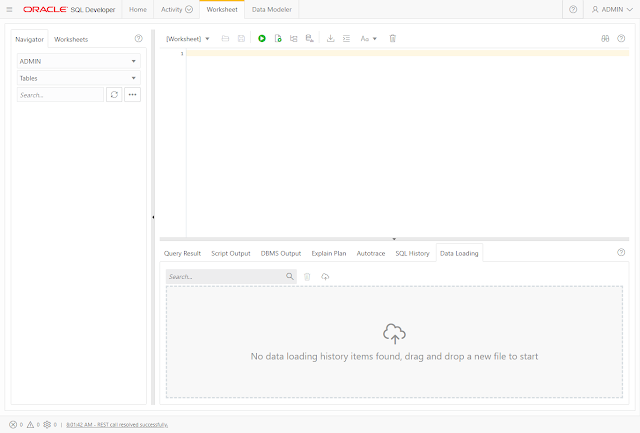
You are presented with the SQL Developer Web tool, which allows you to perform many of the operations you would normally require SQL Developer or SQLcl for.
Connecting to the Autonomous JSON Database (AJD) Service Using SQL Developer
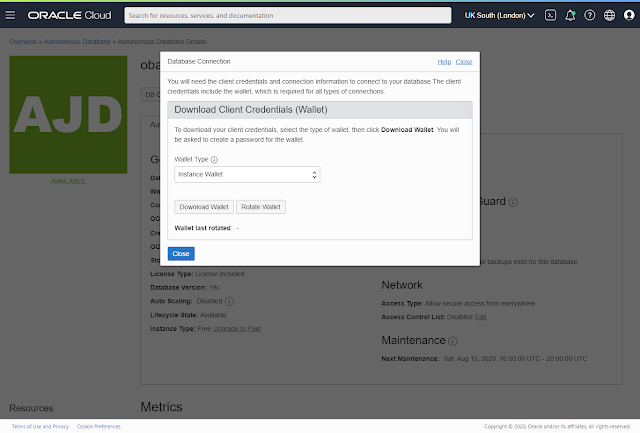
We need to download the client credentials wallet. This can be done from "Service Console > Administration > Download Client Credentials (Wallet)" or from the "DB Connection" button on the main details screen. The process is similar with each approach. Clicking the "DB Connection" button results in the following screen. Click the "Download Wallet" button.
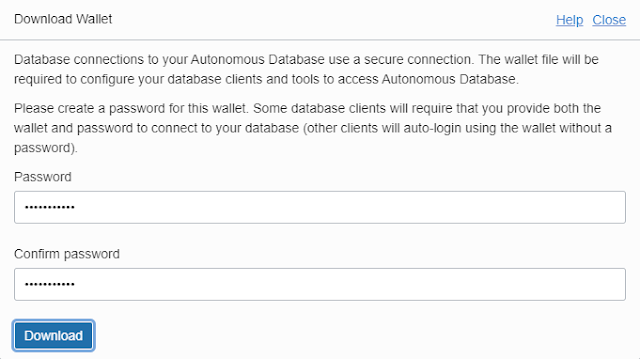
Enter a password to protect the wallet and click the "Download" button. Once downloaded, click the "Close" button on the screen.
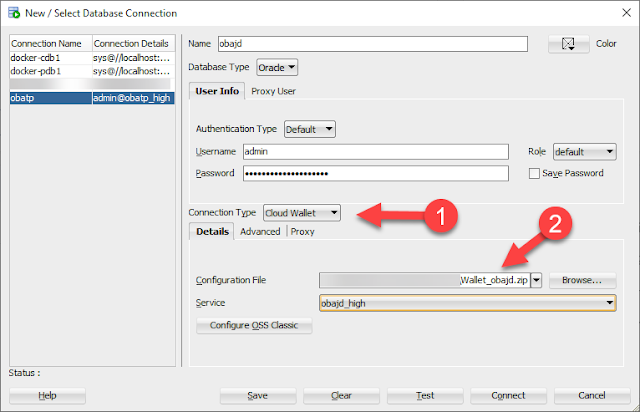
Open SQL Developer and create a new connection. Use the username and password specified when you provisioned the service. Use a connection type of "Cloud Wallet" and enter the zip file location. You can now click the "Test" or "Connect" button. You will be prompted to enter the wallet password.
Connecting to the Autonomous JSON Database (AJD) Service Using SQL*Plus/SQLcl
If you want to use SQL*Plus or SQLcl you will need to do a bit of setup. Start by downloading the credentials zip file as described in the previous section.
Create a location for the wallet, place the zip file into it and unzip it.
mkdir -p /tmp/ajd_wallet
cd /tmp/atp_wallet
# Download the credentials zip and place it in this new directory.
unzip Wallet_obajd.zip
Edit the "sqlnet.ora" file, specifying the correct wallet location.
cat > sqlnet.ora <<EOF
WALLET_LOCATION = (SOURCE = (METHOD = file) (METHOD_DATA = (DIRECTORY="/tmp/ajd_wallet")))
SSL_SERVER_DN_MATCH=yes
EOF
Set the TNS_ADMIN environment variable if you are using a non-standard location, as we are here.
export TNS_ADMIN=/tmp/ajd_wallet
You should now be able to connect using the wallet by specifying one of the entries provided in the "tnsnames.ora" file from the zip.
sqlplus my_user/MyPassword123@obajd_high
impdp my_user/MyPassword123@obajd_high ....
Create a New User
Log into your ATP cloud service, as described above.
Create a new user and grant it the DWROLE role if you want to make it an administrator. You can grant other roles and privileges, but the DWROLE role will give the user access to the DBMS_CLOUD package.
--DROP USER my_user CASCADE;
CREATE USER my_user IDENTIFIED BY "MyPassword123";
GRANT CREATE SESSION TO my_user;
GRANT SODA_APP TO my_user;
GRANT dwrole TO my_user;
You can now connect to the user in a similar way to that described above.
Convert to Autonomous Transaction Processing (ATP)
The Autonomous JSON Database (AJD) is an Autonomous Transaction Processing (ATP) instance with a few things restricted. You can convert it to a full ATP instance by a couple of button clicks. Remember, there will be a cost implication in doing this for a paid service.
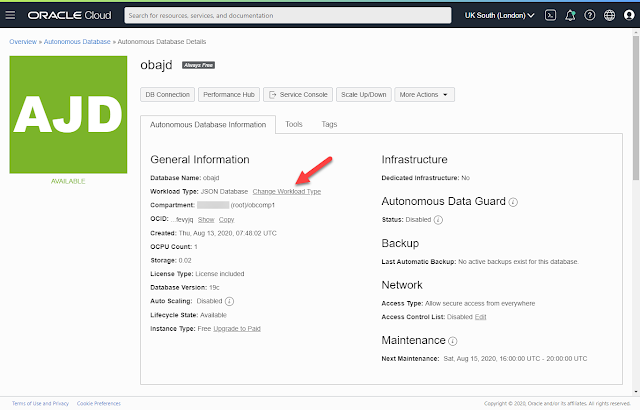
From the Autonomous Database Details page, click on the "Change Workload Type" link.
From the Autonomous Database Details page, click on the "Change Workload Type" link.
Using SODA
If you are using the Autonomous JSON Database (AJD), you will need to understand SODA (Simple Oracle Document Access), as that will be the main way you interact with the database.
Considerations
◉ The AJD service is an Autonomous Transaction Processing (ATP) service with some of the functionality disabled. You don't get access to all the ATP administration screens. It is priced lower than the equivalent ATP service.
◉ An AJD service can be upgraded to a full ATP service at any time, but this will incur additional costs.
◉ When it was first released the Autonomous JSON Database (AJD) service was not part of the free tier, but in April 2021 it was added to the free tier.
◉ There is no Bring Your Own Licence (BYOL) option for this service.
◉ Like all autonomous databases, automatic backups are performed by default, but if you want to perform manual backups, you will need to configure and object store.
Source: oracle-base.com






0 comments:
Post a Comment